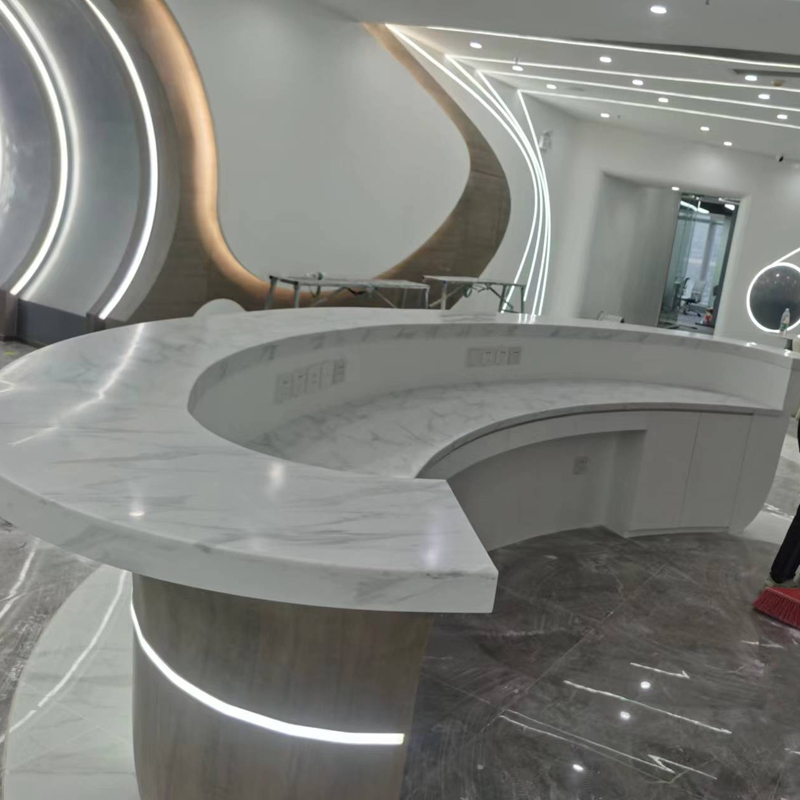
Installing a Synthetic Stone Reception Desk involves careful planning and execution to ensure a seamless and professional look. This step-by-step guide outlines the installation process, from site preparation to final assembly, to help ensure a successful outcome.

Measure the Space: Begin by measuring the area where the Reception Desk will be installed. Ensure there is adequate space for the desk dimensions, considering any additional components like lighting or decorative elements.
Check the Floor Level: Ensure that the floor is level. Use a level tool to identify any uneven areas that may need adjustment before installation.
Clean the Area: Clear the installation site of any debris, furniture, or obstacles. A clean workspace is crucial for a smooth installation process.
Ensure Access: Verify that there is sufficient access to the installation area for moving the synthetic stone components. This may include measuring doorways, hallways, and any tight corners.
Before starting the installation, gather all necessary materials and tools:
Synthetic Stone Panels: Ensure you have all components, including the main desk surface, side panels, and any other pre-fabricated pieces.
Adhesive: Use a suitable adhesive recommended by the manufacturer for synthetic stone.
Fasteners: Gather screws, brackets, or any additional hardware needed for assembly.
Tools: Prepare essential tools such as a drill, level, measuring tape, utility knife, and a caulking gun.
Construct the Frame: If the desk design includes a frame or base, begin by assembling it according to the manufacturer’s instructions. Ensure all connections are secure and that the frame is level.
Secure the Base to the Floor: Once the frame is assembled, secure it to the floor using appropriate fasteners. Ensure it is firmly anchored to prevent any movement.
Position the Main Desk Surface: Carefully place the synthetic stone surface onto the base structure. Use a level to ensure it is perfectly horizontal.
Apply Adhesive: If required, apply adhesive to the top of the base or along the edges where the stone will contact the frame. Follow the manufacturer's guidelines for the correct amount and application method.
Secure the Surface: Once positioned, gently press down on the synthetic stone to secure it in place. Allow the adhesive to set as per the manufacturer's instructions.
Attach Side Panels: If your design includes side panels, attach them next. Position each panel against the desk surface and the frame, applying adhesive as needed. Use clamps or weights to hold them in place while the adhesive cures.
Seal Joints: Once the adhesive is fully cured, use a silicone sealant to fill any gaps or joints between the synthetic stone and the base. This will create a seamless appearance and help prevent moisture penetration.
Install Additional Features: If your reception desk includes features like integrated lighting, power outlets, or decorative elements, now is the time to install these components. Follow the specific instructions for each feature.
Clean the Surface: After installation, clean the synthetic stone surface with a non-abrasive cleaner to remove any dust or residue left from the installation process.
Check Stability: Ensure that the reception desk is stable and secure. Test all components to confirm that everything is properly aligned and functioning.
Review the Aesthetic: Step back and review the overall appearance of the reception desk. Ensure that the finish is uniform and that any joints are properly sealed.
Installing a Synthetic Stone Reception Desk can be a straightforward process with the right preparation and attention to detail. By following these steps, you can ensure a professional installation that enhances the aesthetics and functionality of your reception area. With its durability and design flexibility, a Synthetic Stone Reception Desk can serve as a striking centerpiece in any office environment.